Channel Deployment
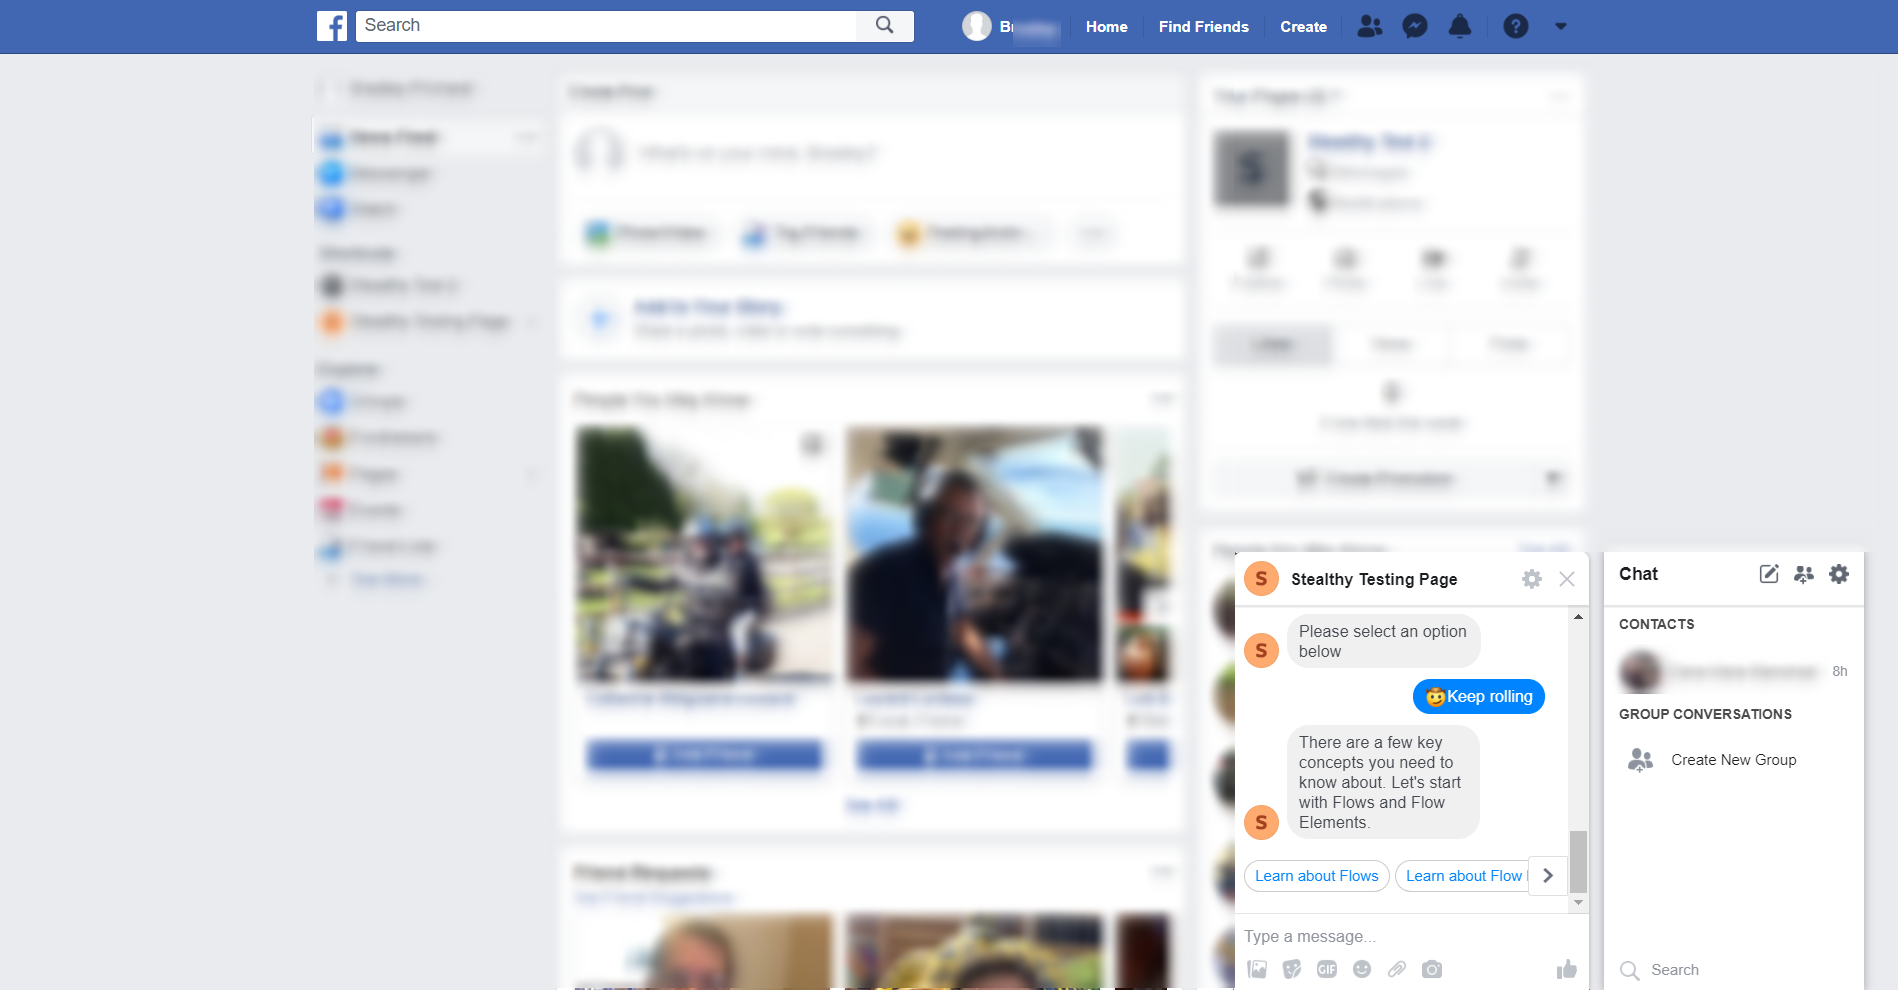
The Stackchat Facebook Messenger Channel Configuration allows you to deploy your bot across the web and mobile versions of Facebook Messenger.
Using the Stackchat Studio interface, connecting to Facebook Messenger is extremely easy. Before you get started, you'll want to make sure that you are the manager of the Facebook Page in use by your organization and log into the Facebook account you wish to use.
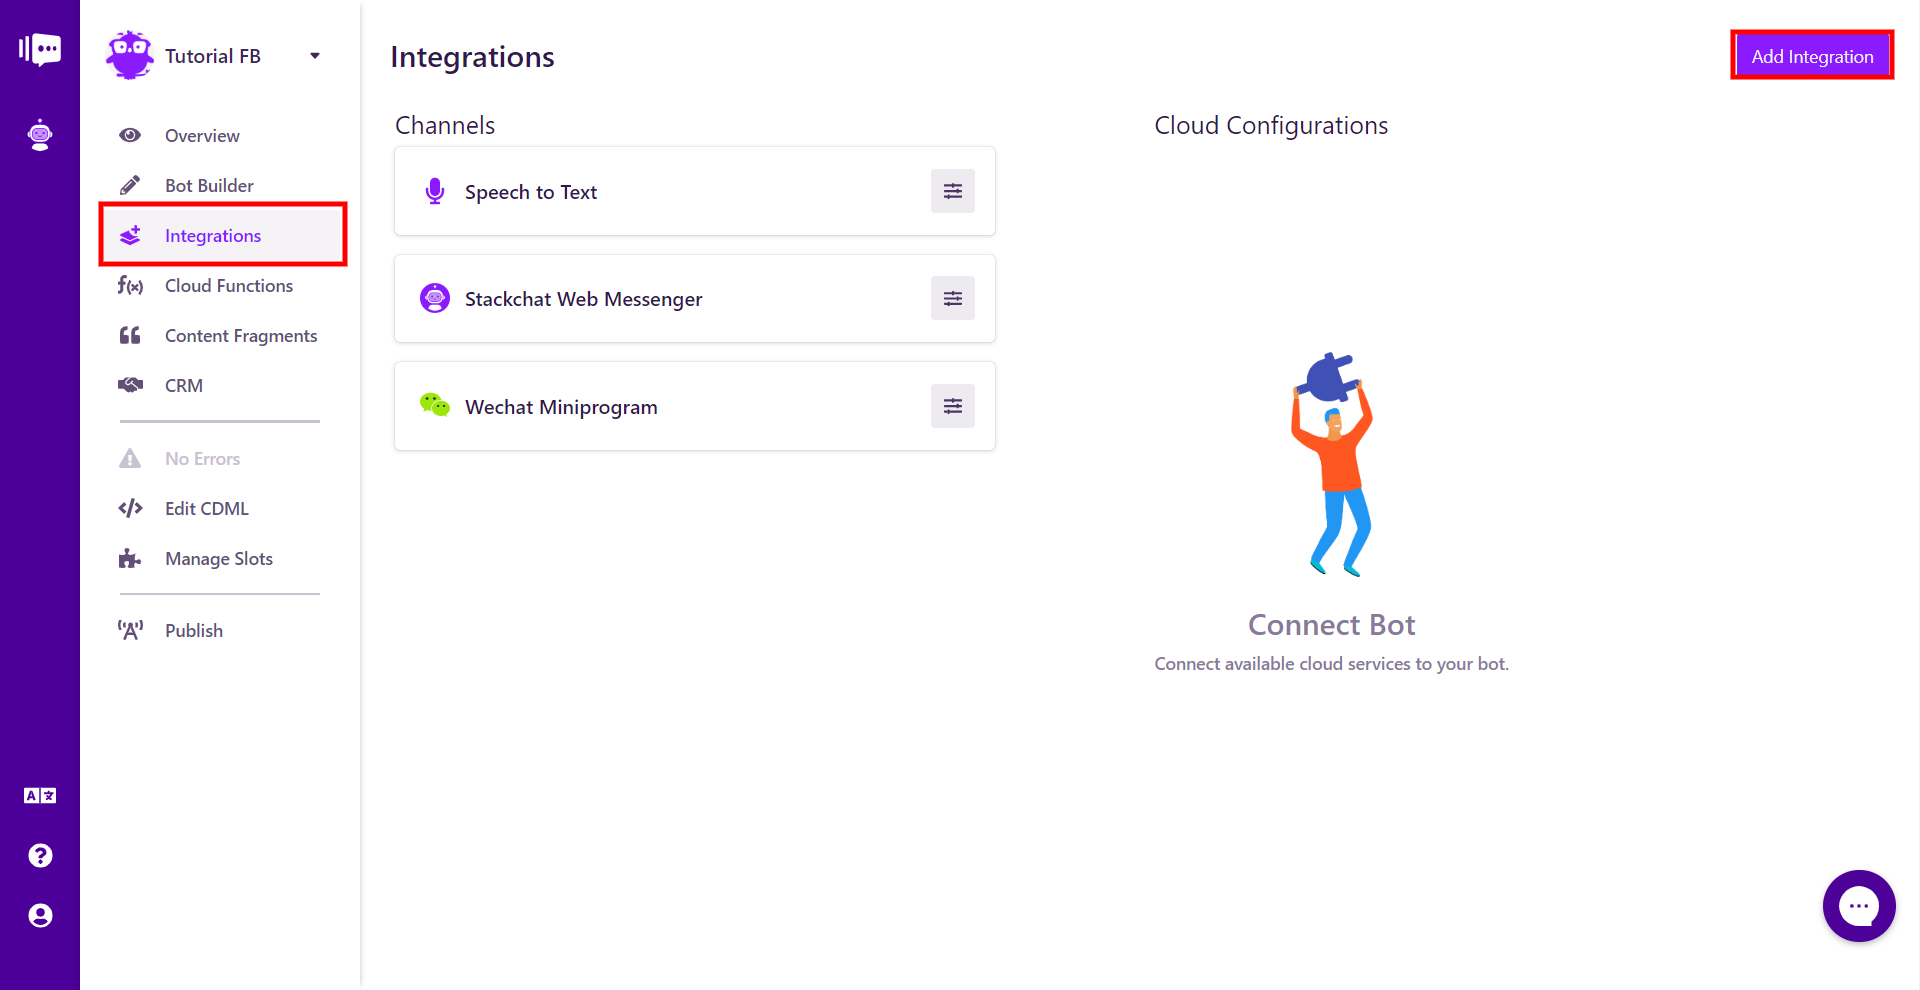
Once you've built and published your bot, go to its Integrations page and click "Add Integration" in the upper right.
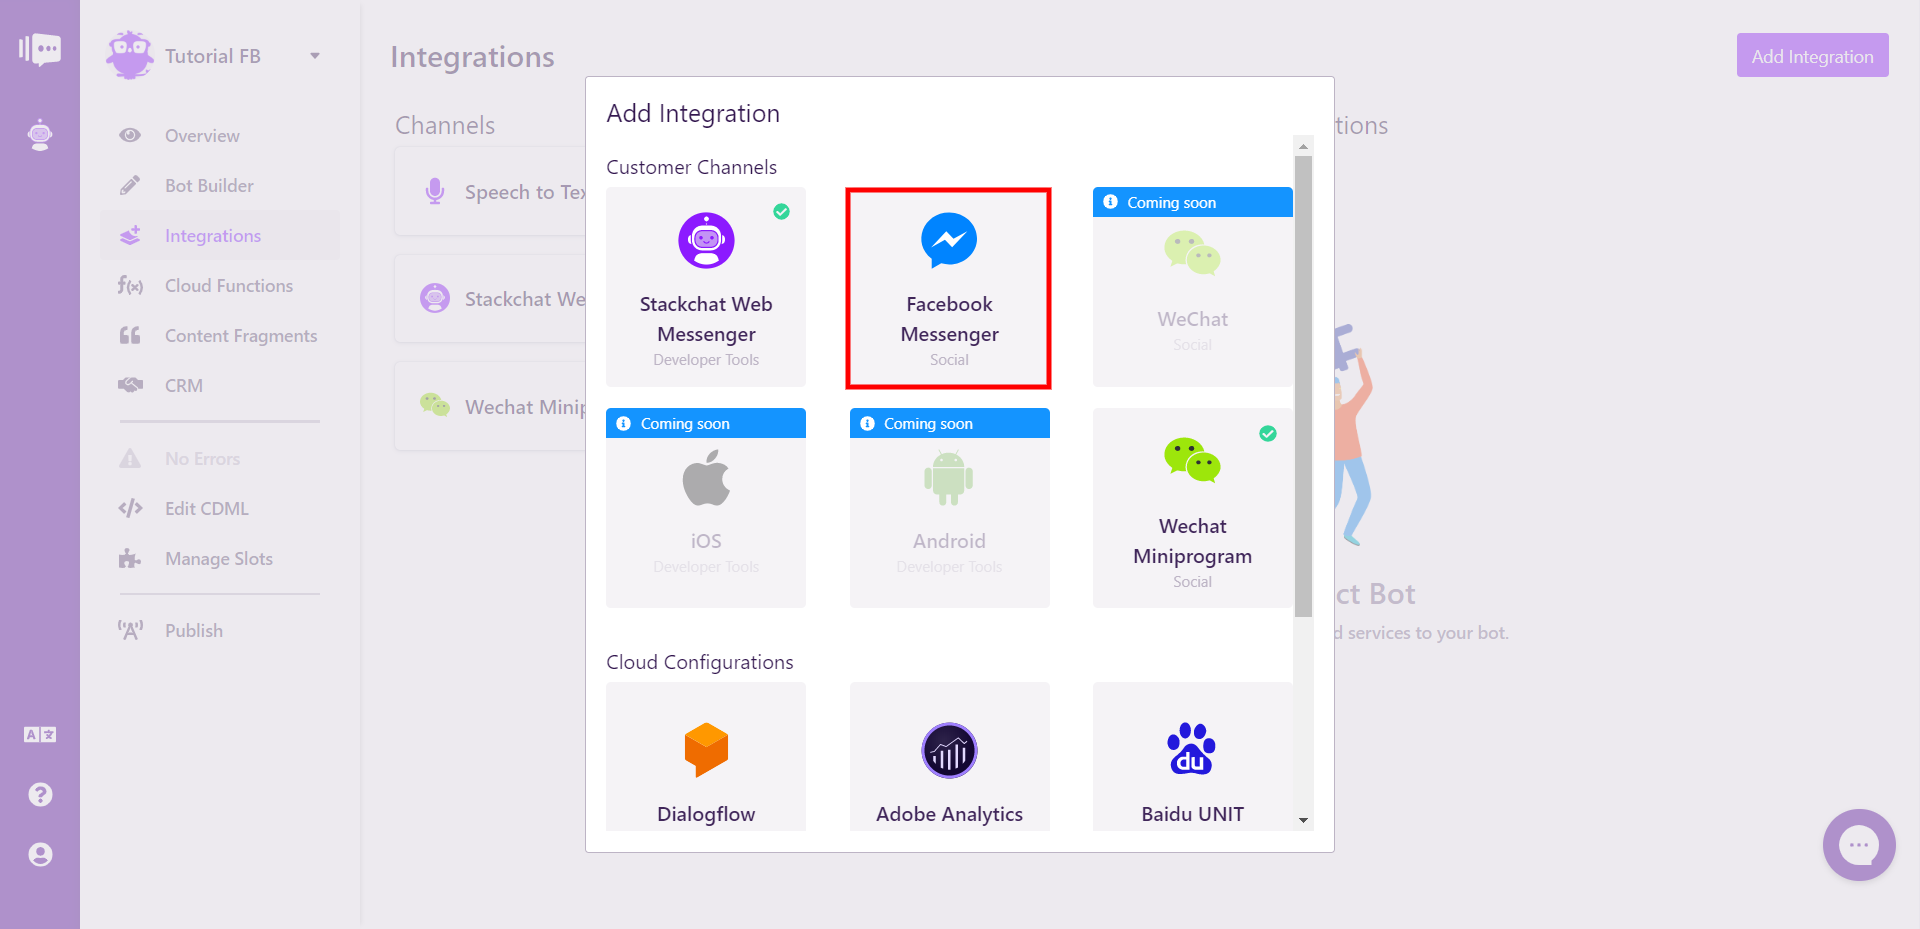
This will open a modal that shows all available Integrations. Select the Facebook Messenger Integration.
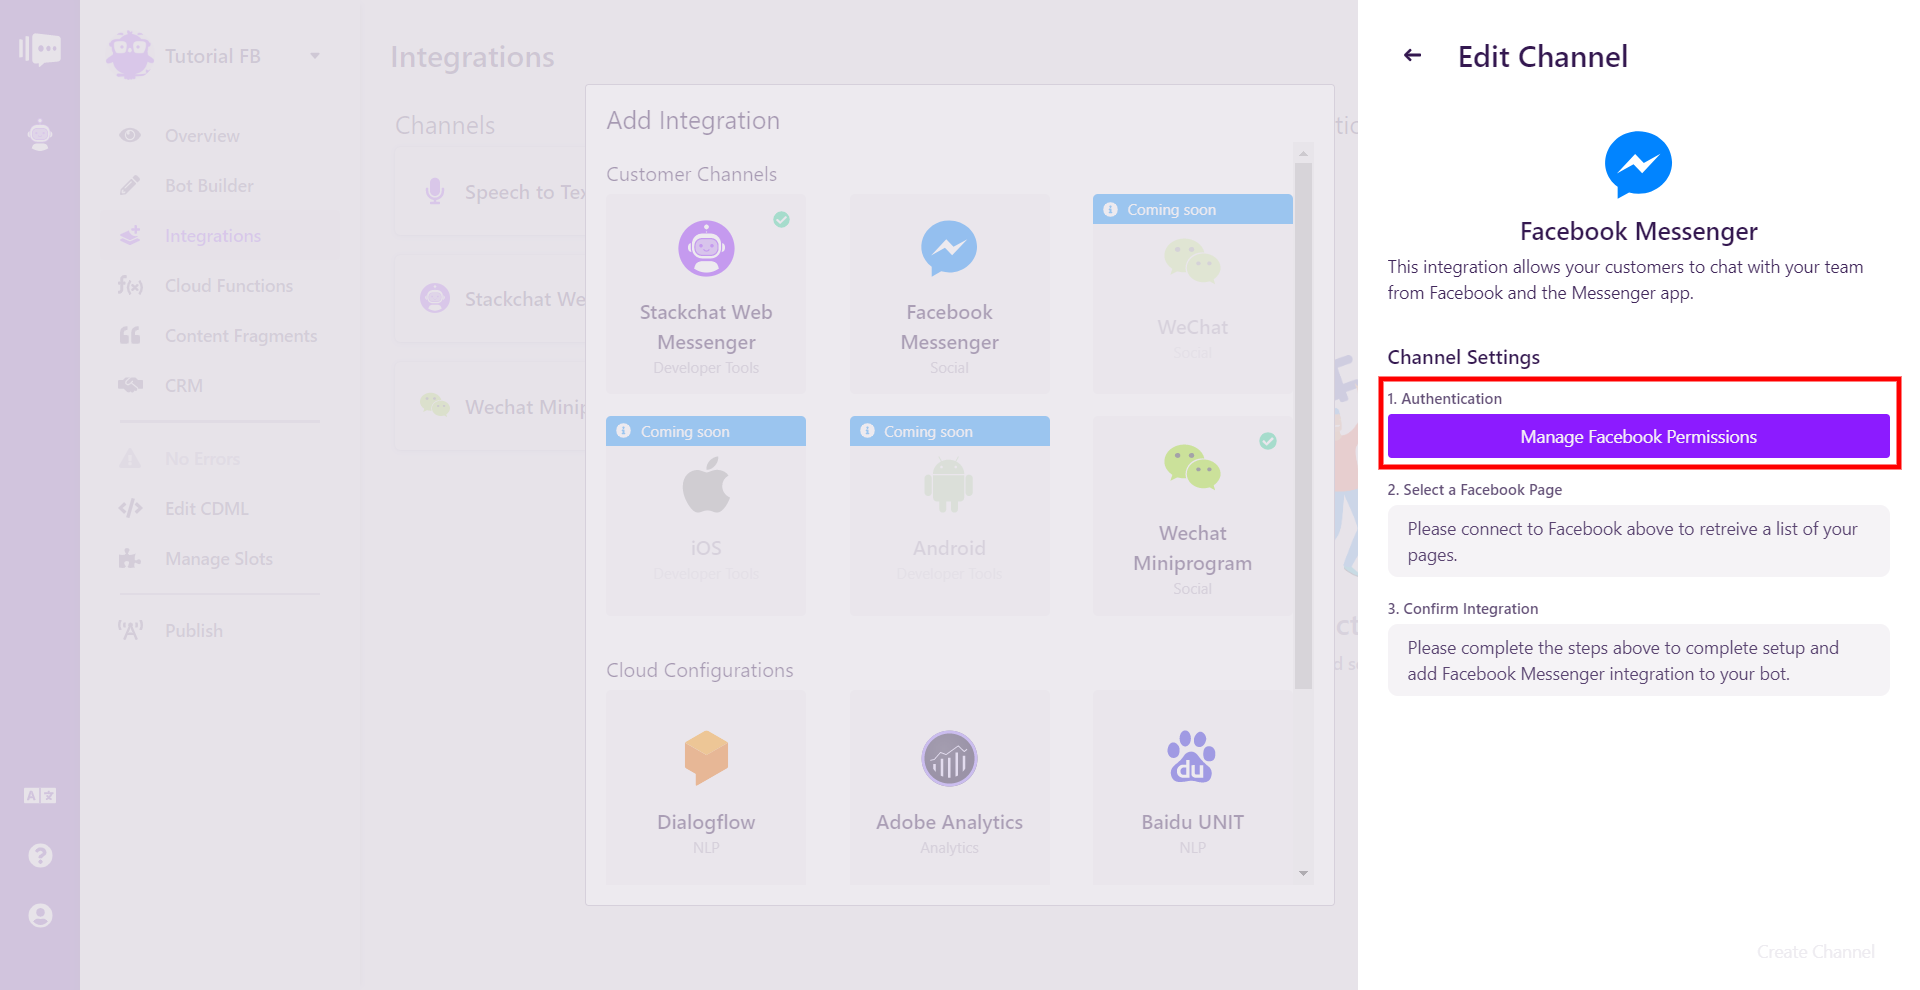
Click on the "Manage Facebook Permissions" button to authenticate your account.
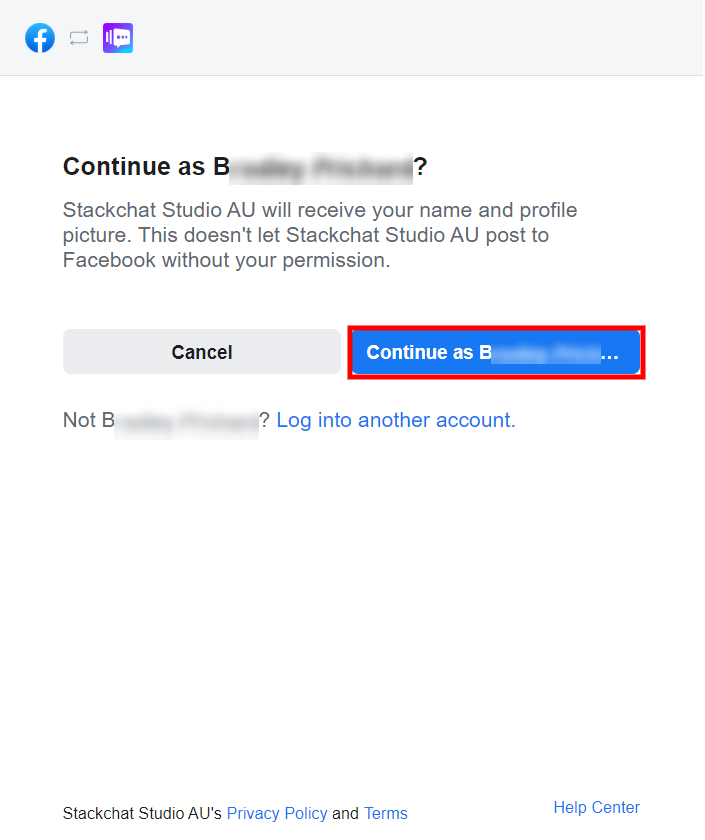
This will open a new browser window that asks you to confirm the permissions necessary to use the Integration. If you are logged into the correct account, click the Continue button.
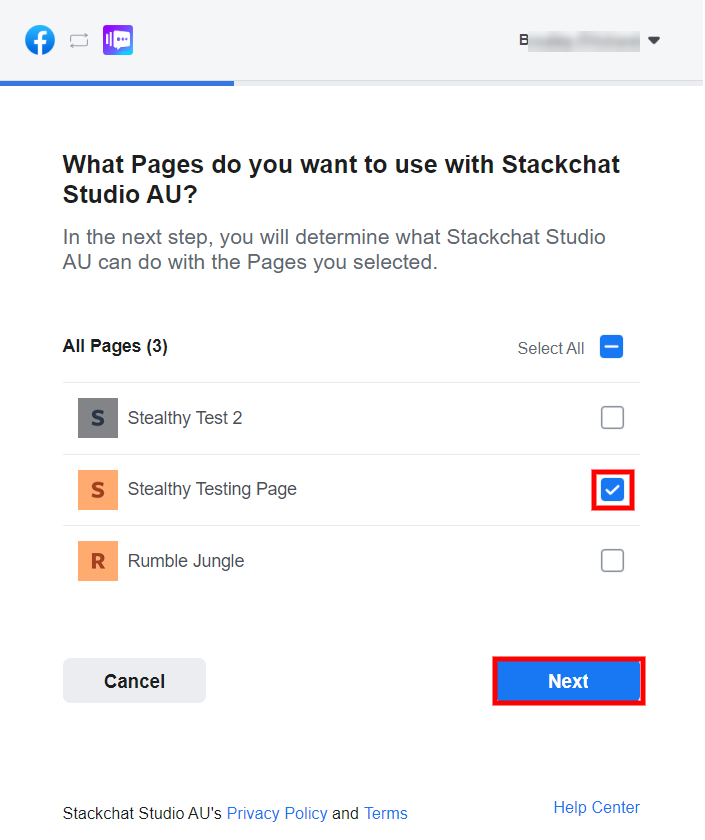
You will then see a list of the Facebook Pages that you manage. Select the one you wish to use and click "Next".
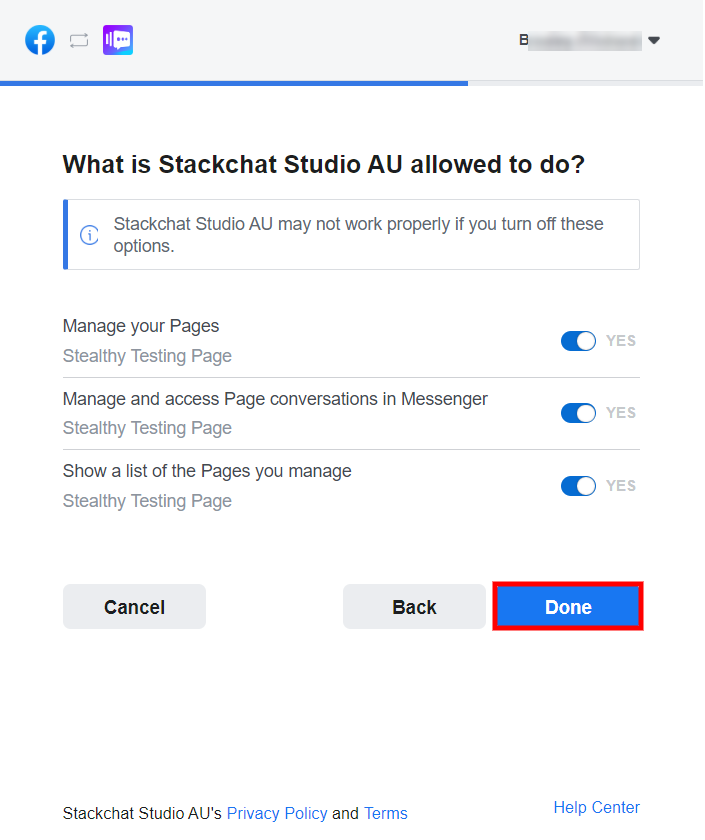
You will then see the specific permissions you want to grant Stackchat, Manage your Pages, Manage and access Page conversations in Messenger, and Show a list of Pages you manage. They will all be set to YES by default. In order for the Channel Configuration to work, it is necessary to leave them that way. Click "Done".
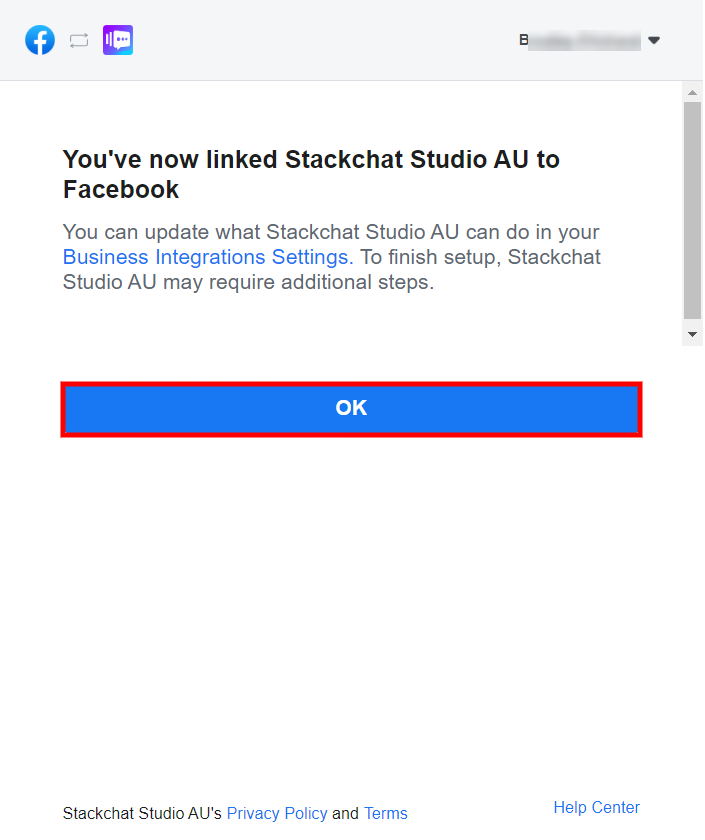
You will then see the confirmation screen. Simply click "OK".
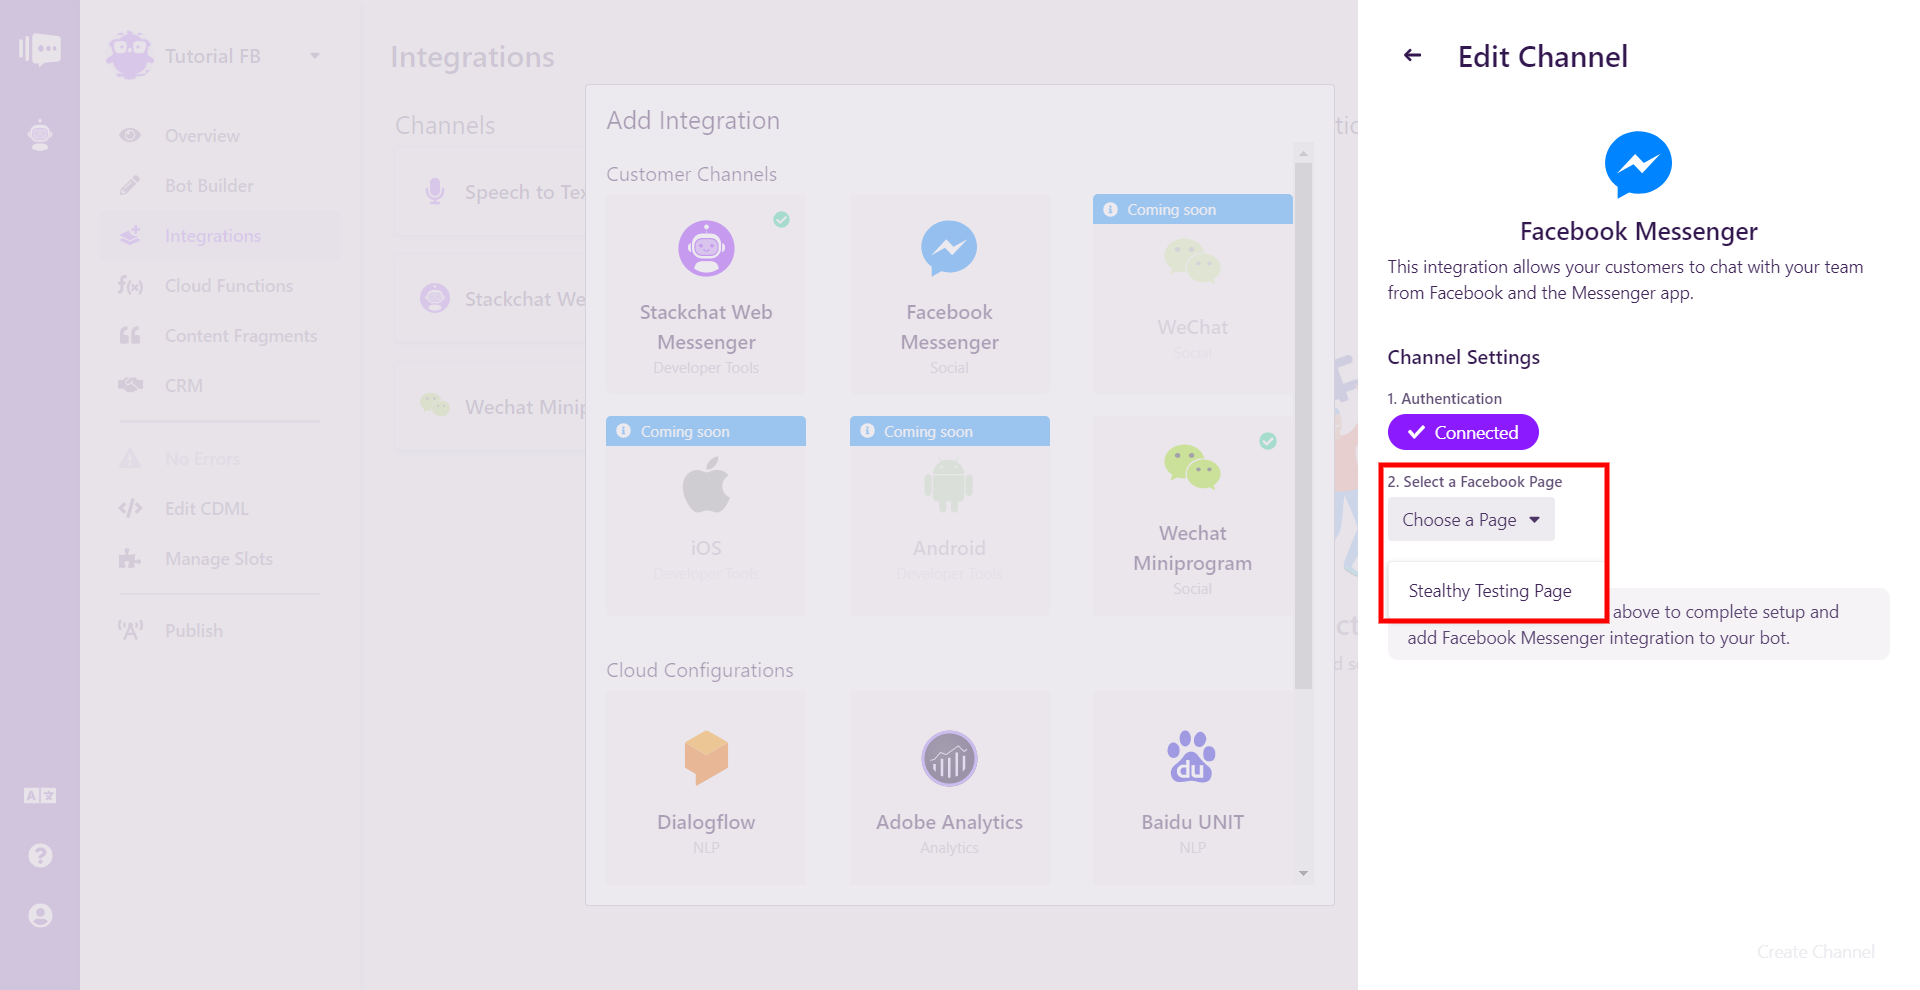
In Stackchat Studio, you will be able to see all pages that you selected under "Choose a Page". Choose the one you wish to connect your bot to.
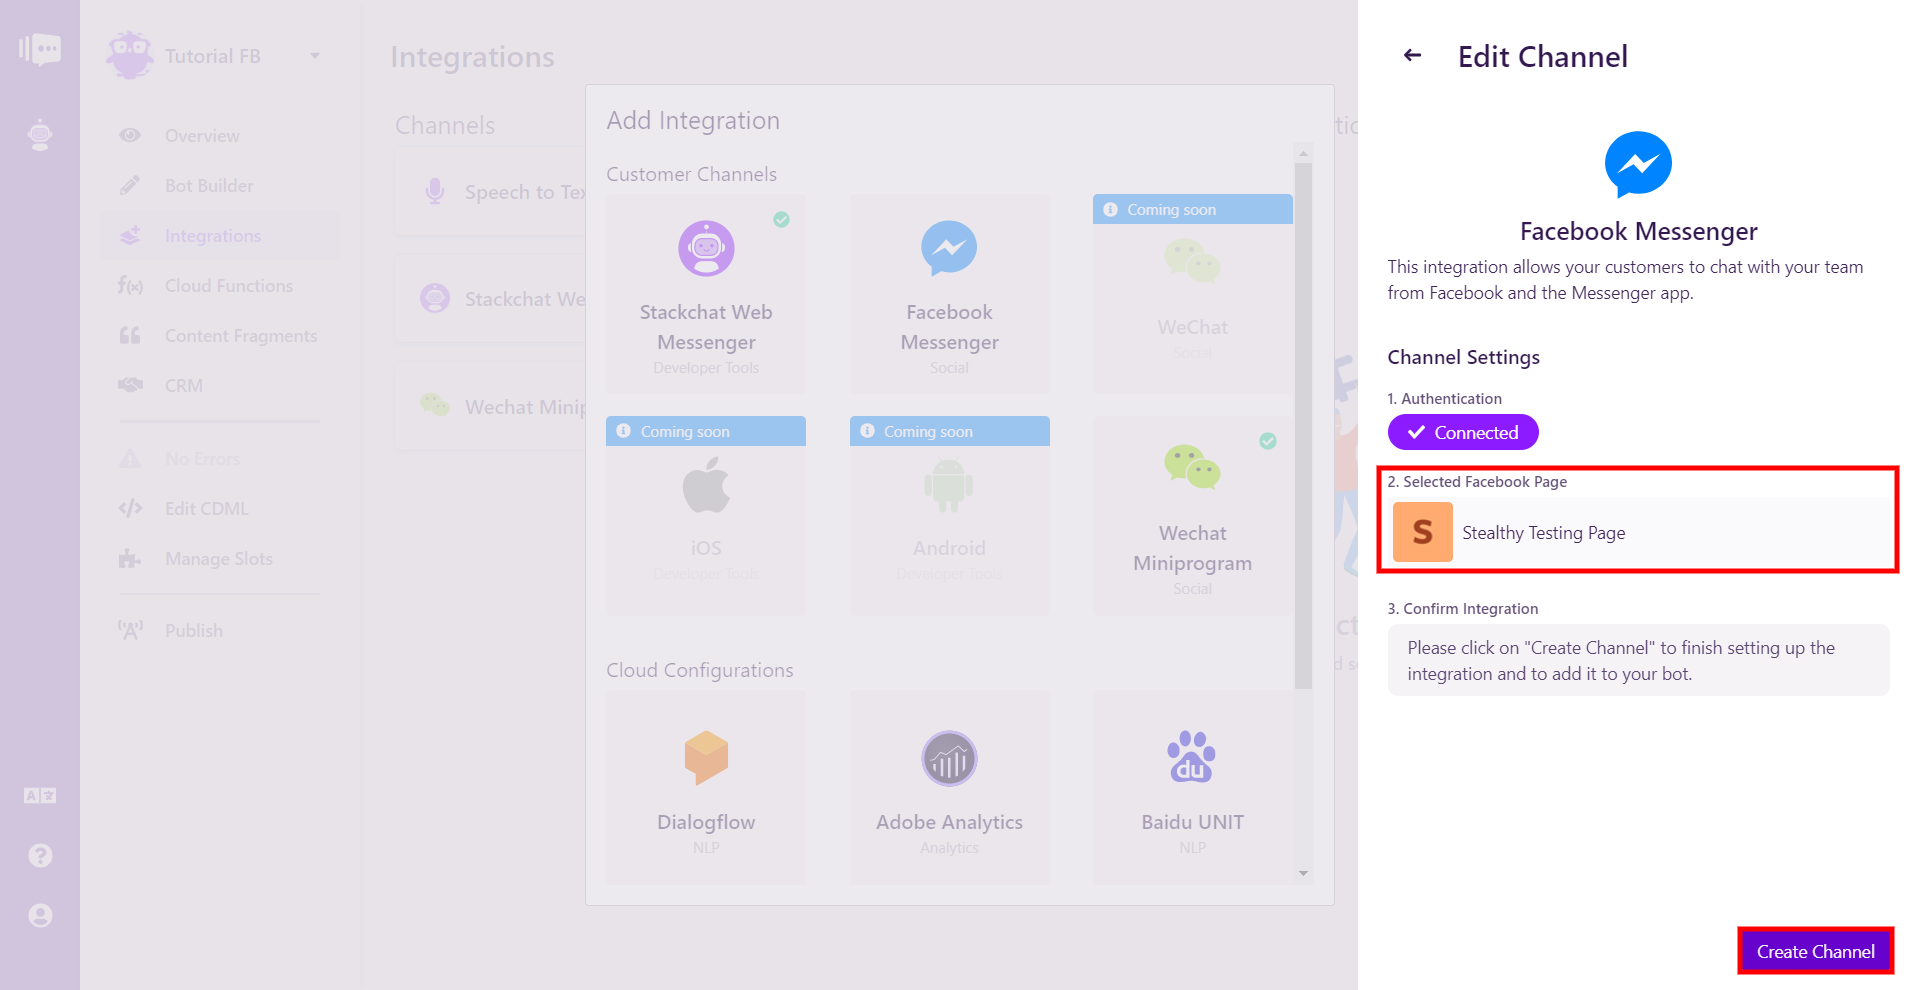
You'll see the icon and name for the Page you selected. Click "Create Channel" to complete the connection.
The Facebook Messenger Channel Configuration will now appear in the list. You can then begin a conversation with your bot inside Facebook Messenger to see your bot in action!
